QC20-W Ballbar
The standard QC20-W ballbar kit includes a 100 mm long ballbar assembly and 50, 150 and 300 mm long extension bars. By assembling the ballbar with different combinations of extension bars it is possible to carry out ballbar tests with 100, 150, 250, 300, 400, 450, 550 or 600 mm radii.
Redesigned ball mounts (including new centre pivot and tool cup extension) allow the QC20-W to carry out additional 220° 'partial arc' tests in planes through the centre pivot axis. This means that you can now carry out ballbar tests in three orthogonal planes without the need to reposition the centre pivot, so speeding up testing (if carrying out 'partial arc' tests with a radius greater than 150 mm custom fixturing is required).
The results can also be used in the new 'volumetric analysis' report function (see Ballbar 20 software) with the assurance that all data has been gathered around the same point.
QC20-W ballbar can be used in conjuction with Ballbar Trace a new time-based software package. Ballbar Trace's flexible use opens up QC20-W to many new applications, including 5-axis ballbar verification (to ISO 10791-6) and static monitoring. The new software is free of charge to existing QC20-W users.
Renishaw ballbars have led the market for nearly 20 years and that leadership continues today with the QC20-W wireless ballbar system.
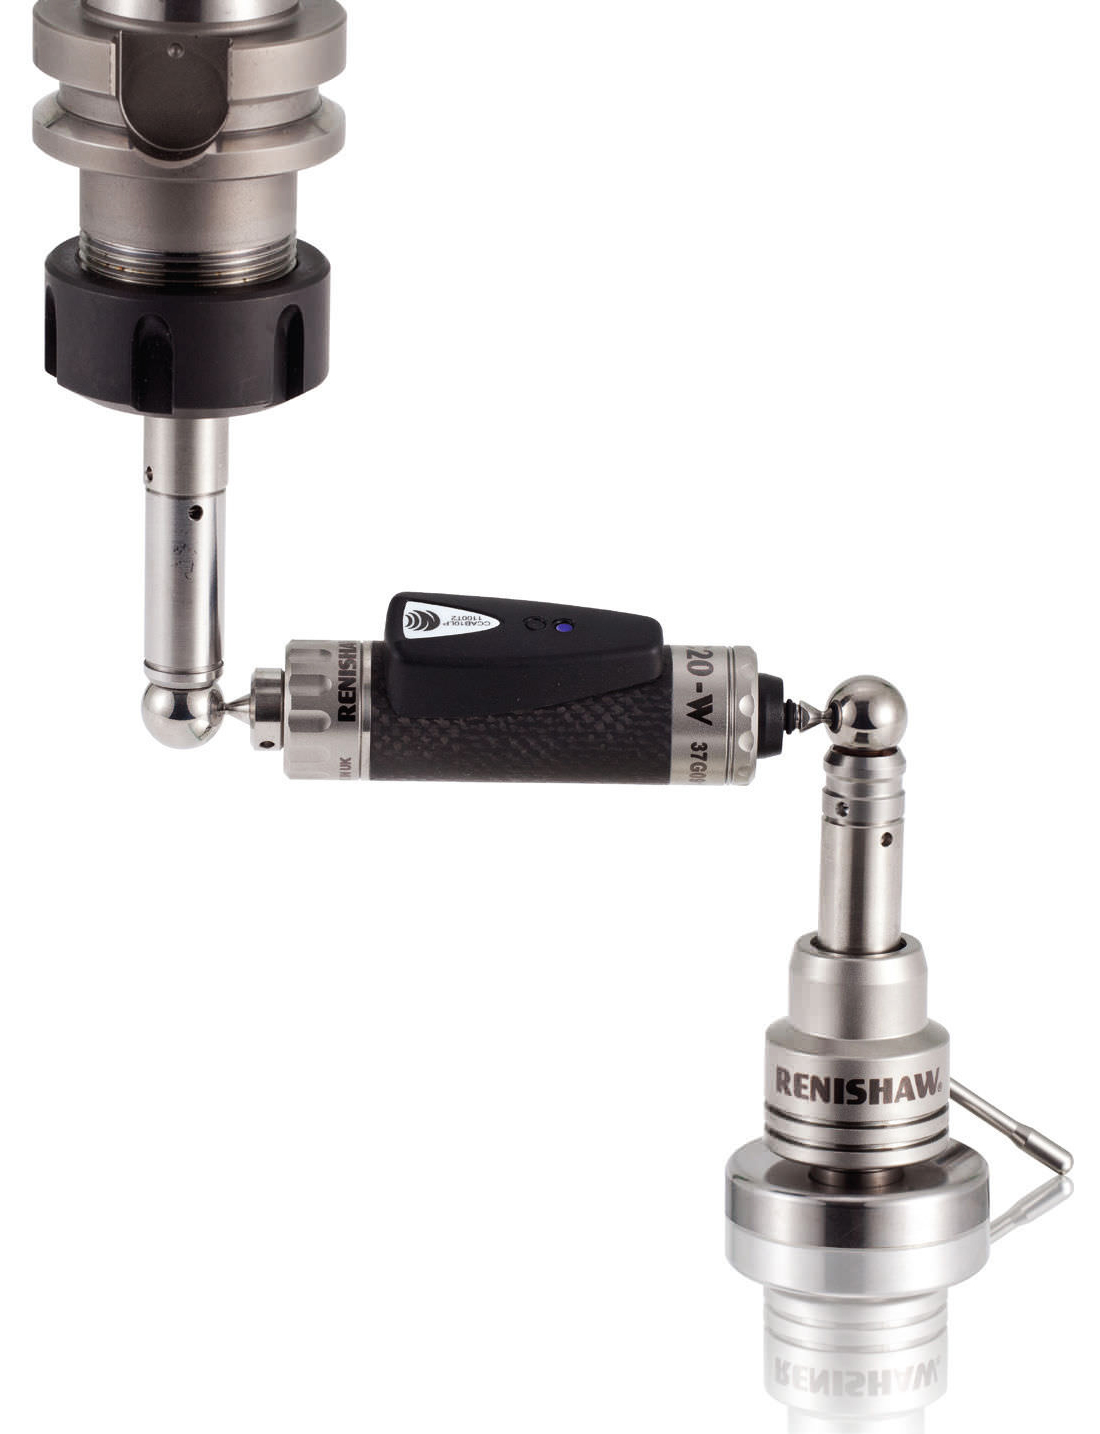
- The ballbar itself (essentially a very high accuracy, telescoping linear sensor with precision balls at each end)
- Two precision magnetic mounts, one attached to the machine table and the other to the machine spindle or spindle housing.
In use the balls of the sensor are kinematically located in the magnetic cups. This arrangement enables the ballbar to measure minute variations in radius as the machine follows a programmed circular path around the mount on the machine table.
The data collected is sent to a PC, where Renishaw's software calculates overall measures of positioning accuracy (circularity, circular deviation) in accordance with international standards such as ISO 230-4 and ANSI/ASME B5.54 or in Renishaw's own analysis reports. This report uses a unique mathematical analysis to diagnose many additional individual machine errors from the set of linear readings. Data is displayed graphically as well as in numeric format to aid and support diagnosis.
Benefits of ballbar testing
Ballbar testing provides a simple, rapid check of a CNC machine tool's positioning performance to recognised international standards (e.g. ISO, ANSI/ASME etc) allowing users to benchmark and track the performance of their machines and to quickly diagnose problems that may require maintenance and the error sources that produce them.
Regular ballbar testing of machine tools helps to:
- Ensure accurate parts, first time, from CNC machines
- Reduce machine down-time, scrap and inspection costs
- Demonstrate compliance with machine performance and quality management standards
- Implement fact based predictive maintenance
- Why use a Renishaw QC20-W ballbar? provides more information on the benefits of implementing Renishaw ballbar testing into your manufacturing processes.
QC20-W ballbar overview
The QC20-W system draws on Renishaw's many years of experience with ballbar testing and offers significant performance and operational benefits:
- Bluetooth wireless technology ensures no wire handling issues, closed door operation and reduced possibility for system damage.
- New hardware and software which allows a 'partial arc' (220°) test. This gives you greater test flexibility including
-- Improved Z axis testing (no custom fixturing required)
-- Tests where axis travel is limited (typically Z axis on machining centres and X axis on lathes)
-- Ability to test 3 planes from a single set up, using 'partial arc' tests for 2 of the tests and present a 'volumetric analysis'
- Faster data reading for enhanced analysis on small test circle and high feed rates.
- Enhanced software includes many new features for extended testing and greater ease of use.


