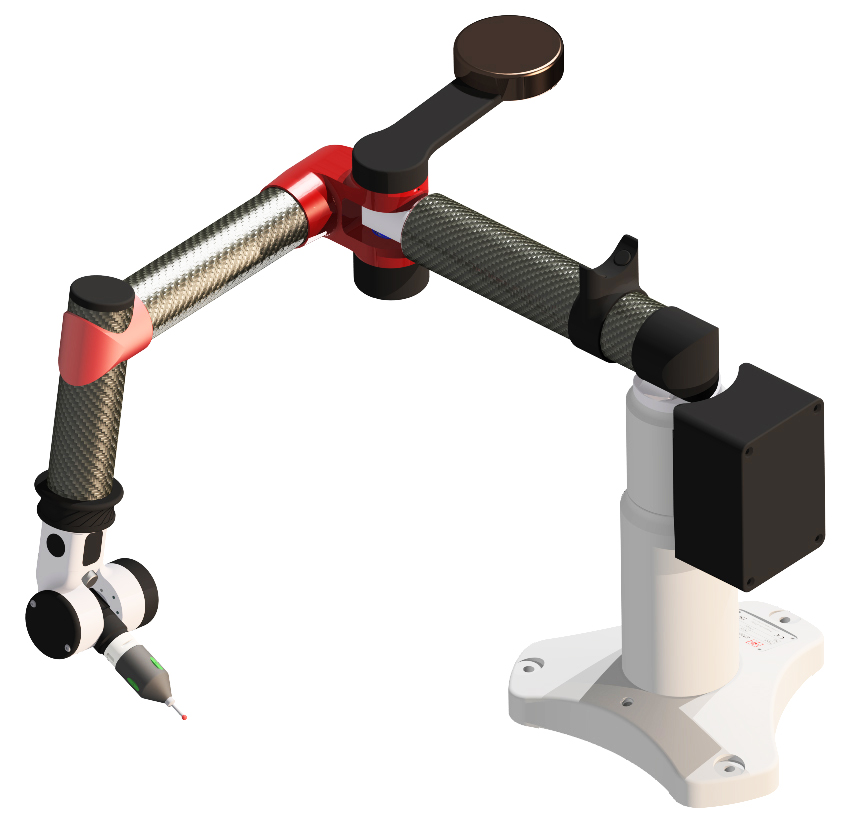
Micron
| Model | Measuring field | Accuracy (micron)* | Repeatability (micron)* |
|---|---|---|---|
| MICRON 250 | 250x250x250 mm | 4+L/60 ≤ 8 | 5 |
| MICRON 400S | 400x250x250 mm | 5+L/60 ≤ 11 | 7 |
THE MOST ACCURATE PORTABLE ARM EVER MADE
The MICRON has a unique conceptual design for the accurate measuring of pieces having small and medium dimensions, with an easy access all around the piece, to the lateral sides and the upper side.
UNIQUE APPROACH POSITION
To reach the highest accuracy the exclusive concept of MICRON arms makes unique the position and the direction of the probe during the measuring session. The measure of a diameter, or the center of a hole, is oly possible from a unique orientation with a unique position of the arm: this allows to obtain the best accuracy and repeatability possible for a portable instrument.
ZERO WEIGHT BALANCE
Light-weight and extremely easy to handle, the MICRON has a mass counter-balance that makes the movements of the axes extremely smooth. The operator holds the probe and guides the arm only supporting few grams of weight. Thanks to the perfect balance the measures are done without any load applied on the probe and on the piece, ensuring the best results for quality control or any other process where a touch probe control is necessary.
IDEAL ACCESSEABILITY ALL AROUND THE PIECE
The particular design of the MICRON arms allows to access the piece all around its outline like no other CMMs can do, assuring an easy access with a unique configuration. It’s the perfect equipment for touch probe inspections when the easy-use and the high precision are required, quick and within a hand’s reach.


