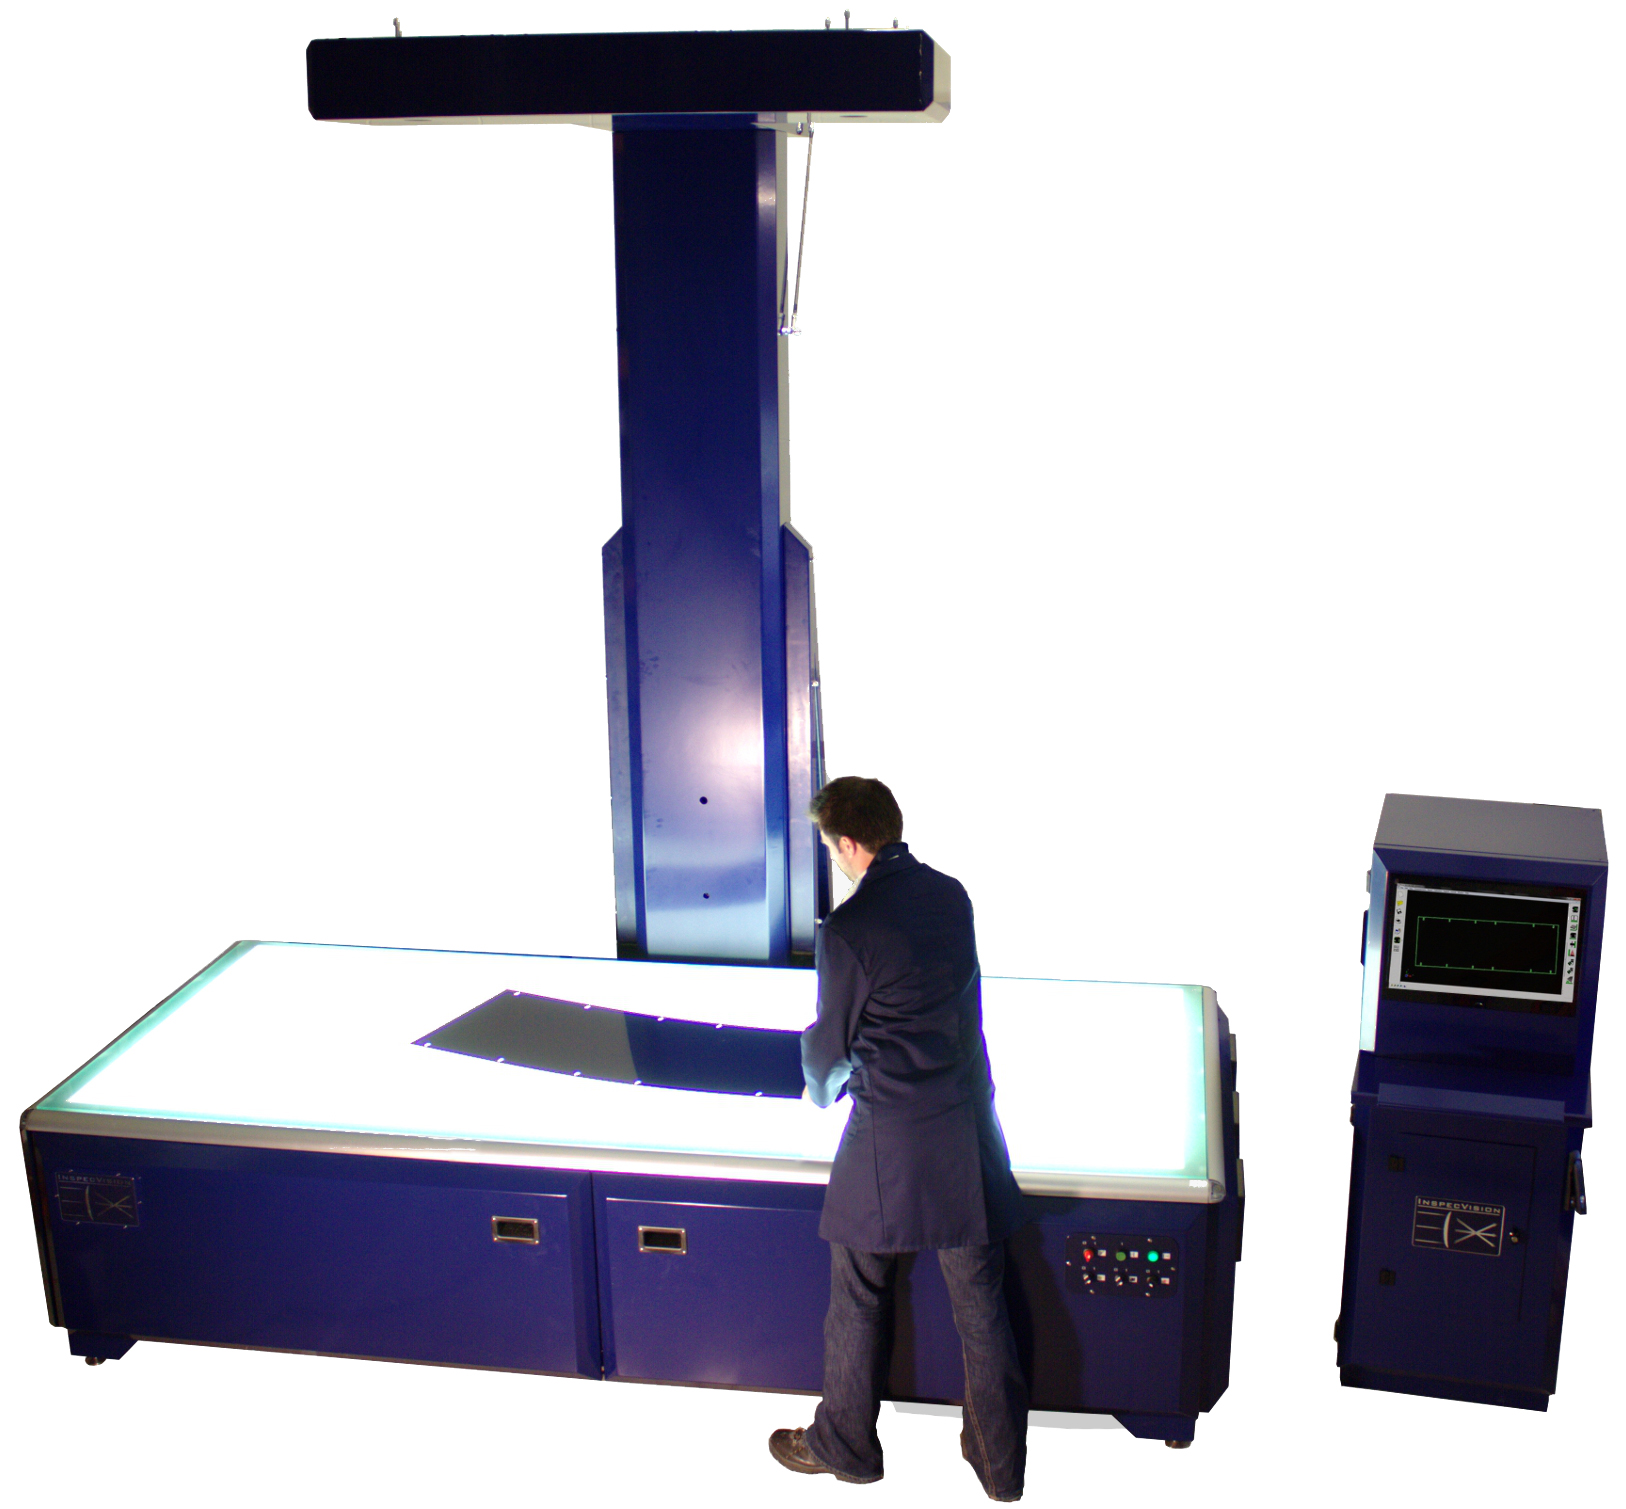
P370.50 Planar
| Description | Specification/Scope of Supply |
|---|---|
| Max component length | 2355mm |
| Max component width | 1570mm |
| Max component thickness | 350mm |
| Max component weight | 500kg UDL (Uniformly Distributed Load) |
| Measuring accuracy, length & width** | +/- 50/100 μm* |
| Measuring accuracy, height** (optional) | +/- 300 μm* |
| Point Spacing | 0.43mm |
| Measuring speed** | <0.25sec |
| Camera | Industrialised ultra high resolution professionally mounted in sealed enclosure |
| Computer processor | Intel Quad Core |
| Processor speed | >3GHz |
| Hard disk | >125Gb |
| Screen | 20 inch flat screen or better |
| Peripheral equipment | Keyboard and optical mouse |
| Operating software | Windows 10 - 64 Bit |
| Proprietary InspecVision software | Inspection, SPC, Reporting, Reverse engineering |
| Data cable | USB 2 or USB3 |
| KVM | Keyboard, Video Display & Mouse stand (PC integrated into light table assembly) |
| Light table construction | Frame with removable sheet metal cladding |
| Light table measuring surface | Laminate glass, toughened with integral diffusion layer |
| Light source | High efficiency LEDs |
| Mast construction | Heavy folded sheet metal construction |
| Power supply | 230 Volt, single phase, 50Hz or 110 Volt, single phase, 60Hz on request |
| Power consumption | 20 Amp maximum at 230 Volt, 30 Amp max at 110 Volt |
| Protective devices | Circuit breakers, mounted at rear of light table |
| Control panel | Control switches for power, camera and lights. Main power indicator |
| EC directives | Compliant with Machinery, Low voltage and EMC Directives |
| Paint colour (powder paint) | RAL 5013 (cobalt blue) |
| Ambient operating conditions | 10-30 degree C |
| Approx Footprint/installed width/ depth/ height/ weight of installed Light table and Mast | 2860mm (W) x 2560mm (D) x 5680mm (H) <1450kgs |
| Approx Footprint/installed width/ depth/ height/weight of installed Computer Cabinet (inc keyboard tray) Optional | 710mm (W) x 472mm (D) x 1739 (H) <95kgs |
| Standard packing | Export crates suitable for sea shipping (2 nos) |
| Warranty | One year limited warranty on hardware and software |
| Optional extended warranty | Two or three year extended warranty (requires software upgrade option) |
| Software support option | Annual support contract provides free software upgrades |
2D INSPECTION
InspecVision’s Planar system has been designed specifically for speed, accuracy and ease of use. The 2D process can measure every feature completely. Planar can produce multiple report types automatically with minimal input from the operator. To inspect, the operator places the part on the measurement surface and with a single click or scan of a barcode, Planar will:
• Import the CAD file for the part
• Extract the relevant profile data
• Extract all dimensions and tolerance data from the layers
• Use this information to generate reports automatically
• Measure the part
• Fill in reports with measured data, nominal data, tolerance information and will indicate all PASS/FAIL items
• Display and optionally print a colour deviation diagram comparing CAD information to measurement data
• Output SPC data for analysis
2D REVERSE ENGINEERING
One special feature of the Planar system is it’s unique ability to very rapidly reverse engineer flat parts. A profile can be placed onto the machine and reverse engineered in seconds. The machine will output dxf or dwg CAD files which can them be used on a cutting system to make duplicates of the part, or simply to document a part for which no drawing exists. Familiar CAD functionality allows the user to edit and clean the data to ensure standardisation of hole sizes etc, and clean edges for example, before saving out the file.
Physical parts or even paper, acetate or electronic image files can be reverse engineered to create CAD files. There is no comparable system on the market today which can offer this capability with this ease and speed. Again using the optional 3D modules, similar reverse engineering processes can be carried out in 3D.


